

The hard part (besides finding the supplies) is cutting the picture, after you do that, the rest is a breeze.
Here's instructions, pictures:
First this is what you'll need:
Picture tile board (I had a friend of mine cut them up for me but you can purchase some online at http://www.picturetiling.com/ --if they aren't sold at your local craft store)
Paint color (I use black, but you can use any color you want)
Picture of your choice
Ruler
Scissor
sharpie
2 Transparency paper, or you can also use a plastic protector sheets.
Pour on (hardener and resin)
Plastic cups (at least 5 for one tile board)
Plastic spoon (or something that you can stir with and discard)
Straw or lighter
straight edge (I use a pamper chef scraper--JUST for this purpose)
Newspaper (or some type of other table top covering)
Saw tooth for hanging or easel for displaying
Here's what you do:
First you need to make sure your board is free from any dust. Wipe with a damp cloth and let dry.
Paint the board, make sure to get the sides and grooves and back. Let dry
Take your transparency paper and place on the on the board. Use the sharpie and ruler and trace out the squares (Making a template)
Place your template on your picture, and cut out.
(I forgot to take pictures of these steps so I made a proto type, sorry)

Glue the picture on the tile board (making sure the edges are glued down well)
Place picture tile board on four cups (one on every corner)

pour chemical on picture


Take the straight edge and lightly scrap the chemical off from top to bottom, then bottom to top


(I like just a thin layer)
scrape in between the grooves by going down the lines over and over again (until it doesn't fill in again).

Take the straw and blow (hot air) to pop the bubbles that show up... If you use a lighter, 1 inch away, run the lighter along the picture... Heat is what pops the bubbles

You have 30 minuets before it starts to set so take your time (add more if you need)
Let dry, 72 hours
Hammer a saw tooth hanger on the back.
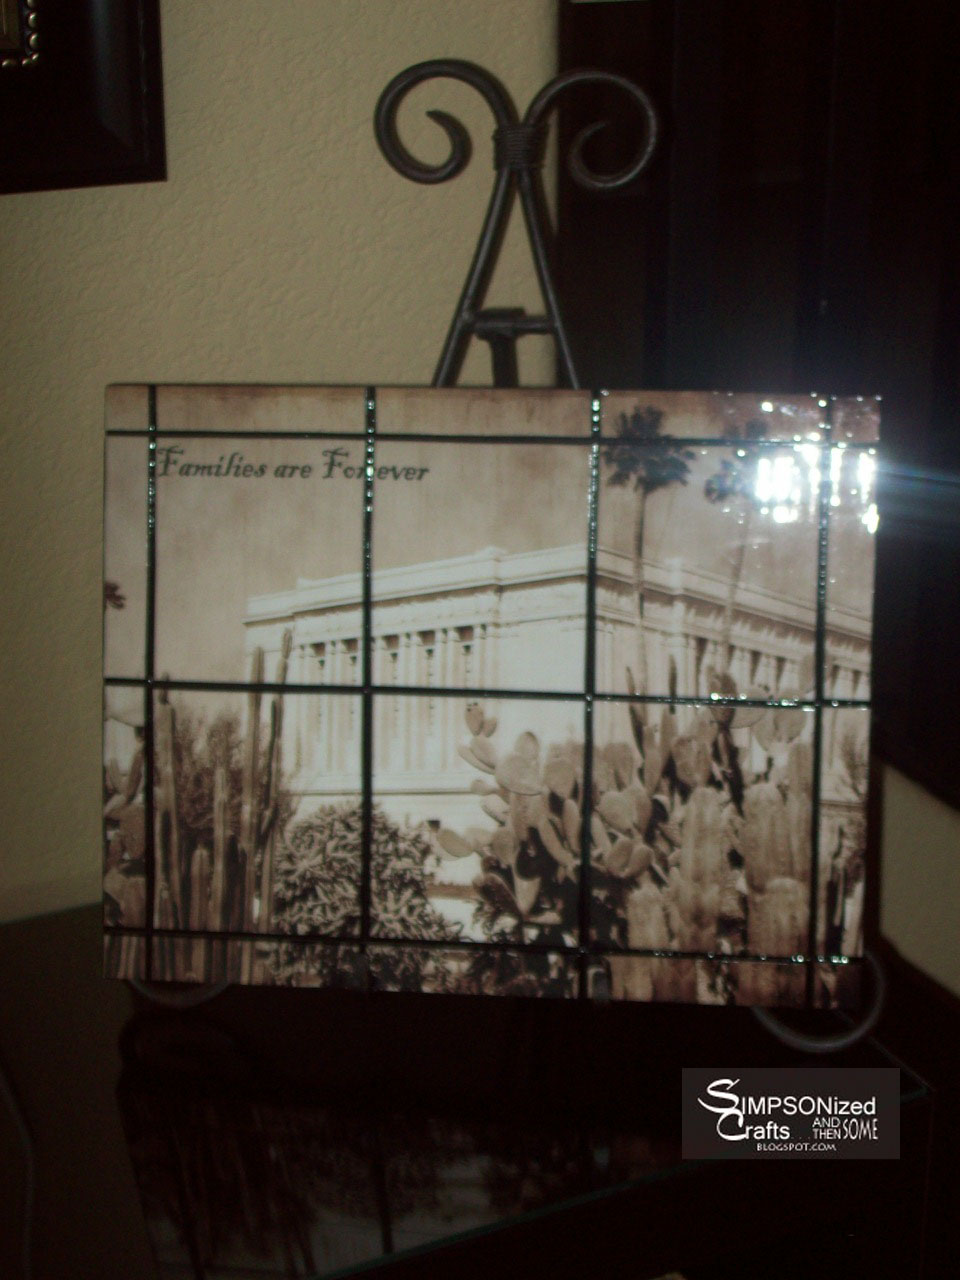


Thanks so much for this tutorial! This is a great gift idea! I really like the picture you used. What temple is that? Just Beautiful! I found you from Someday Crafts.
ReplyDeleteBeautiful! I love the look of these but didn't know how to make them so thanks for the tutorial. I'm adding this to my list!
ReplyDeleteHow neat. What a beautiful picture of the Arizona Temple!
ReplyDeleteWhere did you get that picture from?
Thanks ladies!
ReplyDeleteAnna, it's the Arizona Mesa Temple.
Lorie, I got this picture from a friend, who, I believe got it online from a photo place that was trying to raise money for a family member's medicle... I'm going to have to find out for sure, I'd love to see the other temple pictures they have!